For optimal hair drug testing, it’s crucial to collect the sample correctly. Here’s a step-by-step guide to ensure accuracy:

Sample Collection Site: The best sample is from the crown of the head. Cut as close to the scalp as possible to reflect the body’s most recent metabolic activity.
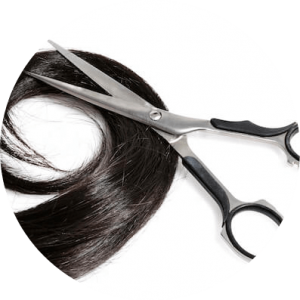
Tools and Cleanliness: Use only high-grade stainless steel scissors, cleaned with alcohol wipes. Avoid using rusted or dirty scissors as they can contaminate the sample. Ensure the collection surface is clean using disposable gloves during the process.
Sample Size: Aim for a hair thickness similar to a shoelace tip (approximately 100 strands). Hold the hair tightly before cutting to ensure accuracy.
Cutting Technique: Follow the scalp’s curve rather than cutting straight across. This maintains uniform hair length, especially important if segmenting the sample for specific time periods. For general testing of the last three months, 3cm (about 2 inches) of hair growth is ideal.
 Sample Preparation: Carefully position the cut hair on the foil, ensuring the root end aligns with the marked end of the foil provided. Gently but firmly fold the foil around the hair ensuring it’s tightly secured. This step is crucial to prevent any displacement of the sample. The collector must wear gloves during the entire process to maintain the sample’s integrity and prevent any potential contamination.
Handling Long Hair: If the donor has long hair, trim the excess away from the hair secured in the foil should it not be required.

Sealing and Labeling: After folding the foil around the hair sample, place it inside the small opaque paper envelope provided. Ensure this envelope is sealed using the barcode sticker. Next, insert the barcoded paper envelope into the larger plastic envelope. This double-enveloping is crucial for the added protection and integrity of the sample. Affix the red integrity sticker once the plastic envelope is sealed. This integrity sticker is vital for maintaining the chain of custody and ensuring the sample’s validity. Lastly, write the donor’s name on the sealed plastic envelope and place the sample into the biohazard bag provided. Remember, do not include any paperwork in the biohazard bag.
Adhering to these steps meticulously guarantees that the sample is well-protected and correctly identified throughout the testing process.
Shipping: Place all completed documents and the biohazard bag into the postage bag provided and mail it to our clinic. Please avoid stapling any of the envelopes to prevent accidental contamination.
 Ready to order your hair collection Kit? Click here
 Have any further questions? Click here

